#1 – Joycon drift & swapping shells
Hey! First help desk post! Not sure how many of these I’ll do so count your blessings.
For my inaugural post I’m gonna post the process I did for swapping my joycon shells and replacing the thumbsticks to fix my joycon drift I was getting (probably from playing celeste so much lol)
This whole process took me about 2.5 hours to get through I didn’t find anything to be especially difficult, I just had to restrain myself from wanting to use force a few times and had to just keep working at it gently for a few ribbon cables and shoulder buttons. Take your time & be gentle with the thin little ribbons.
One thing to note is the case I bought didn’t close fully near the end due to a manufacturing error, I note this below in bold so go check that out and make sure your replacement shell closes snug before swapping everything out… that being said I filed it down with all the parts and stuff inside so it’s possible to do it still when it’s mostly complete. Just something to note.
Anyways let’s get into this,
Step 1:
first off, I had to order the parts.
I went with this kit for the replacement sticks (came with a bunch of tools and good reviews. The tools were VERY necessary to do this, it included everything I needed.)
and bought this shell for the joycons, I thought it would come with the backplate for the switch but it did not, oh well! Maybe I’ll get it seperate one day.
Step 2:
I watched this video by JerryRigEverything in full while I waited for my parts to come.
once my parts came I set everything I had up on my desk and got started. The video has some great tips for staying organized and taking your time. I’ll point out below where I got stuck during the video and where I looked for help.
2:15
He talks about this tabs thing while popping the shoulder button off which I didn’t really understand, I ended up watching this video which made a bit more sense to me, I got the button off right away after this.
10:10
Everything else when pretty smooth, expect for right at the end with the second joycon. For some reason the case I got didn’t close properly due to some big plastic in between the buttons near the edge where the rail connects. I watched the video below which kinda helped and looked at this image album to figure out what exactly was going on (On my shell I had to file down a piece of plastic to make the joycon close fully <- it might be good to check this and do this before you start if it’s a problem!) I ended up filing the plastic down a bit with a exacto knife which did the trick, but I had to clean the shavings up a bit with a q tip.
That’s it!
Well, for me anyways! Joycons are back together and fully functioning, hope it worked out for you as well.
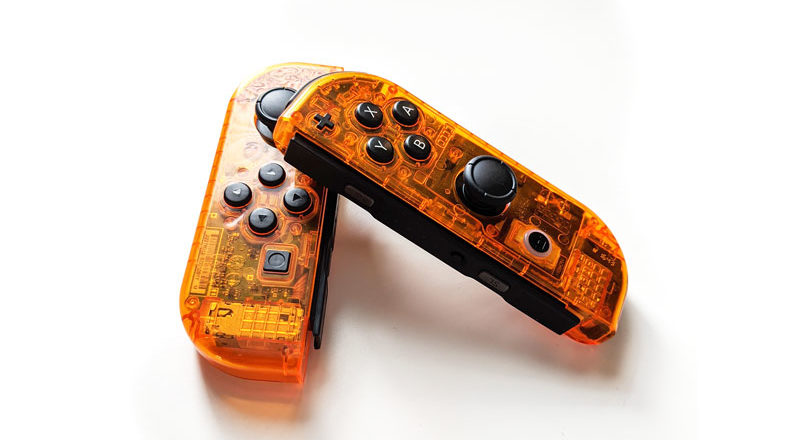
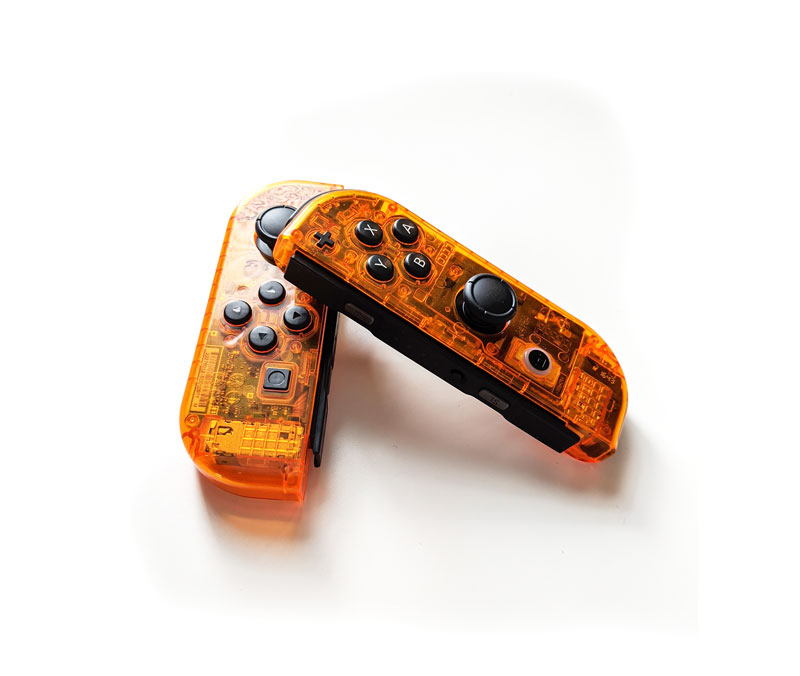
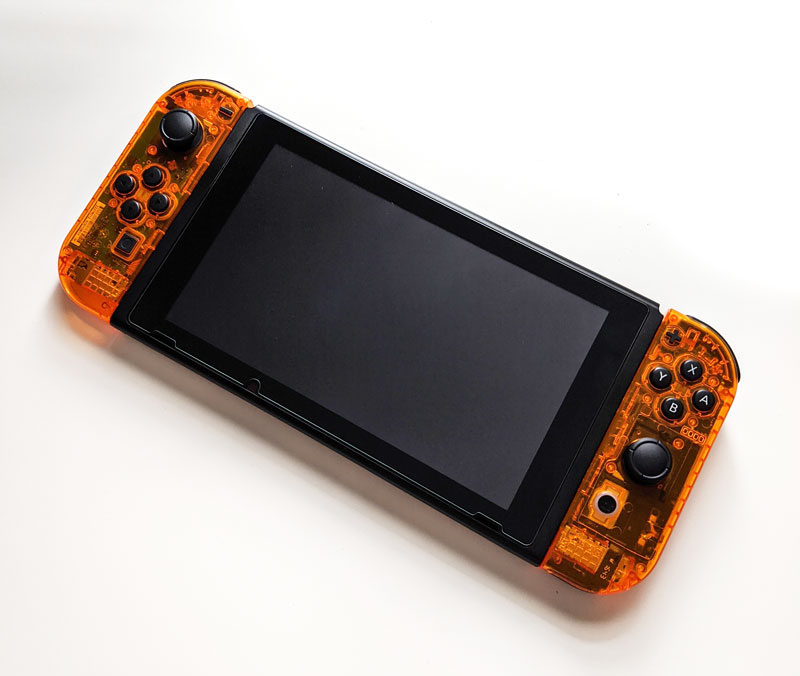
Here are a few completion picks, I went with clear orange shells because I like orange and the clear looks cool.


